 Flash Guide How to Flash a ROM to Your Android Phone
These are the instructions to download Flash or install Stock Firmware (ROM) on DX J7 Plus Mini (Original firmware) , If you searching for the DX J7 Plus Mini Stock ROM then you are at the right place. Here i will guide you to install official stock Rom on DX J7 Plus Mini , Here you can download the Official DX J7 Plus Mini Stock Firmware ROM (flash file) on your Computer.
DownloadDX J7 Plus Mini Stock Rom (Original firmware)
Requirements: Your DX J7 Plus Mini Device should have at least 40-50 percent of battery to perform the Flashing Process.
Flash File Name: DX_J7_Plus_Mini_MT6580_v01_02122017_5.1-[flash-file.net].zip
Flash File Size: 449 MB
Flash Tool Link: SP Flash Tool For Windows | SP Flash Tool For linux
How to Flash Stock Firmware ROM on DX J7 Plus Mini
To install the Stock Firmware on DX J7 Plus Mini , Please follow the guide and download the Rom . This guide is for How to Install Stock ROM on DX J7 Plus Mini .
STEP 1: Download and Install the DX J7 Plus Mini USB Driver on your computer. In case you have already installed them, you can skip this step.
STEP 2: Switch Off your DX J7 Plus Mini device .
STEP 3: After downloading Stock Firmware , extract the zip file on your system.
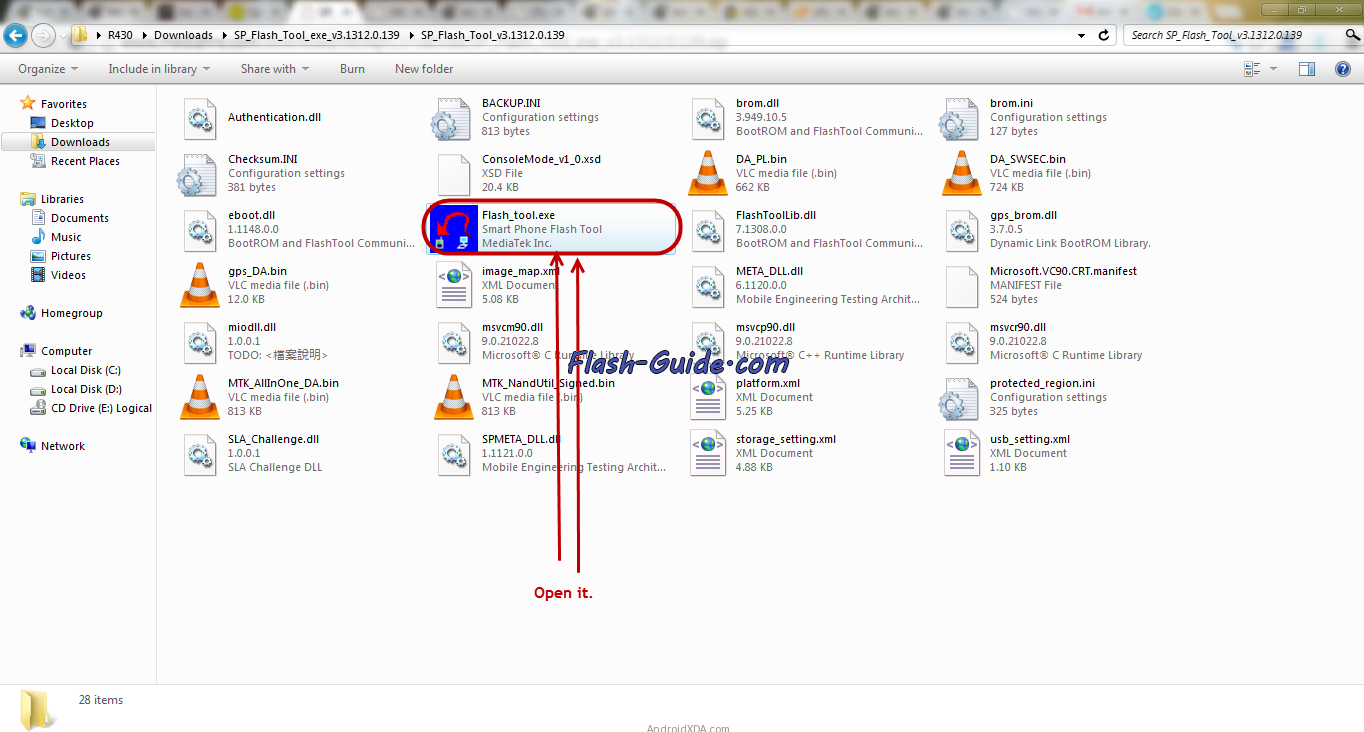
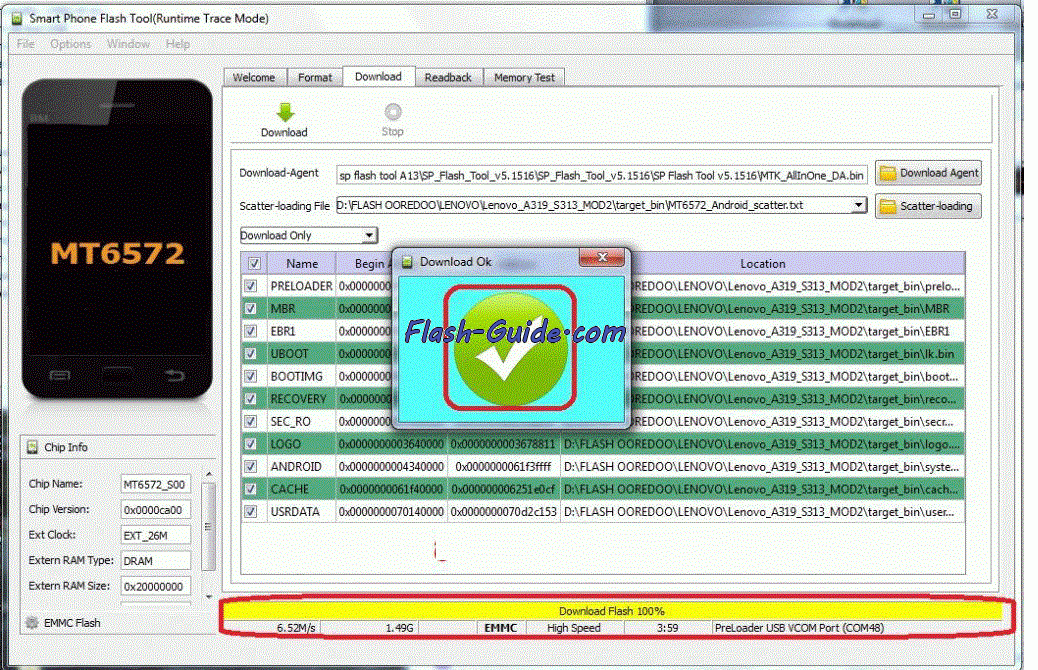
STEP 4: Download the SP Flash Tool on your system and extract the downloaded zip file on your system. After that you can see the following files listed.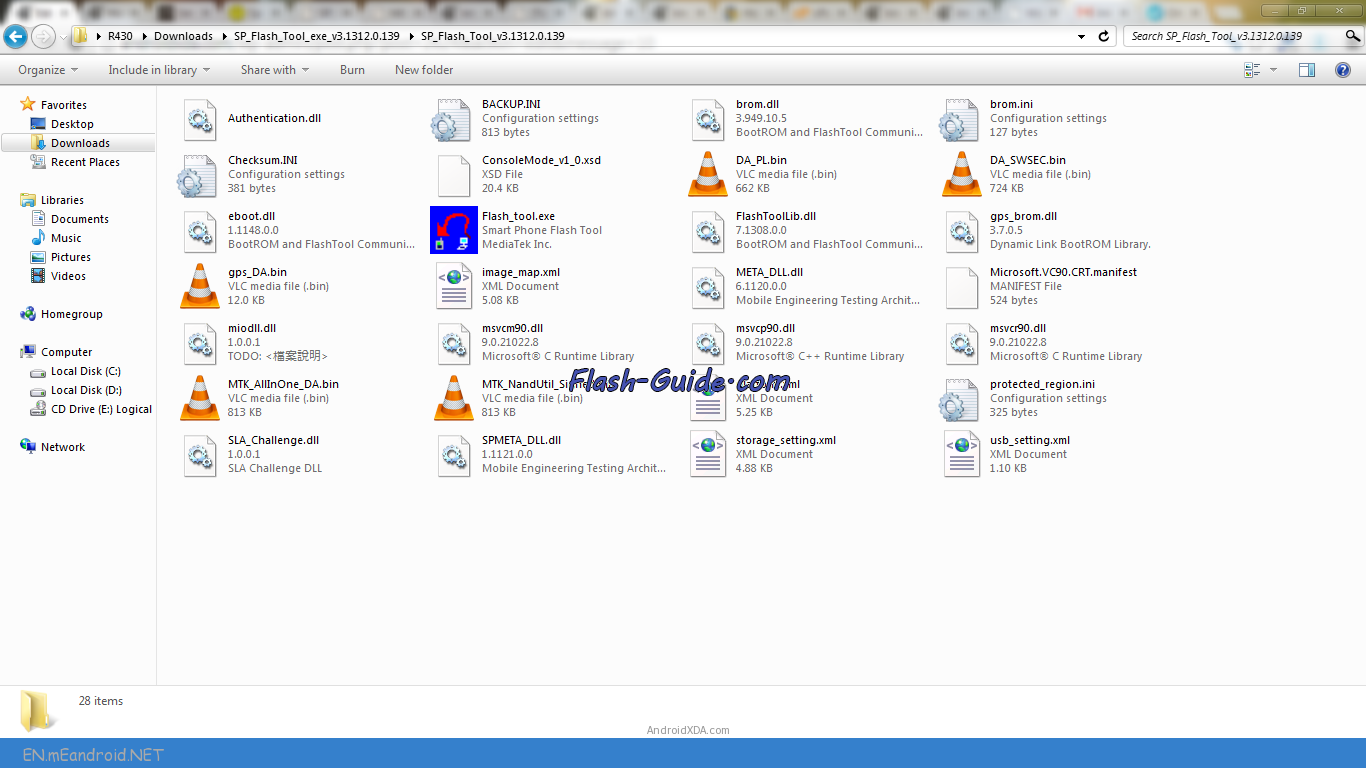 STEP 5: Form the files listed run the Flash_tool.exe file.
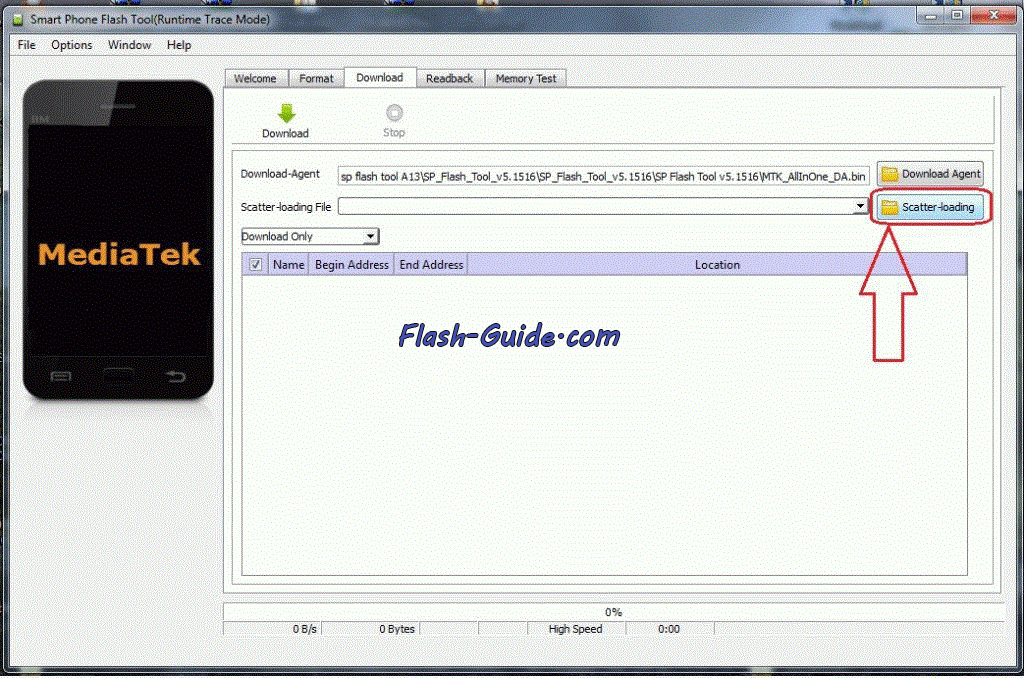
STEP 6: Once the SP Flash tool is started, click on the Scatter-Loading button located in the right side. 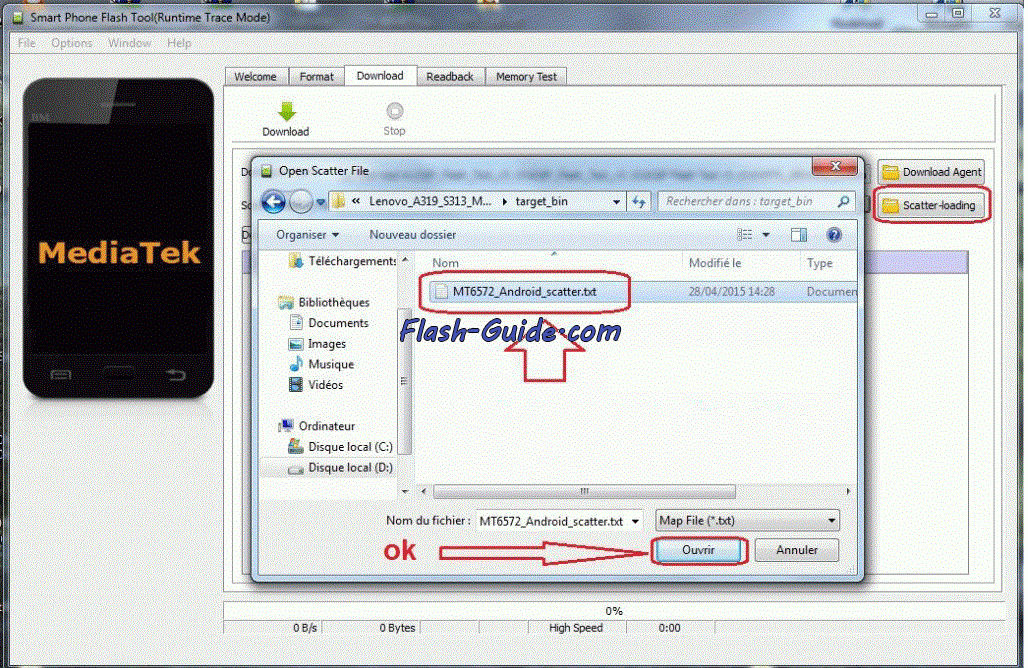 STEP 7: Now locate the scatter file in your stock ROM. It is generally located in the bin/ directory. STEP 8: Now click the Download button to start the downloading process.
 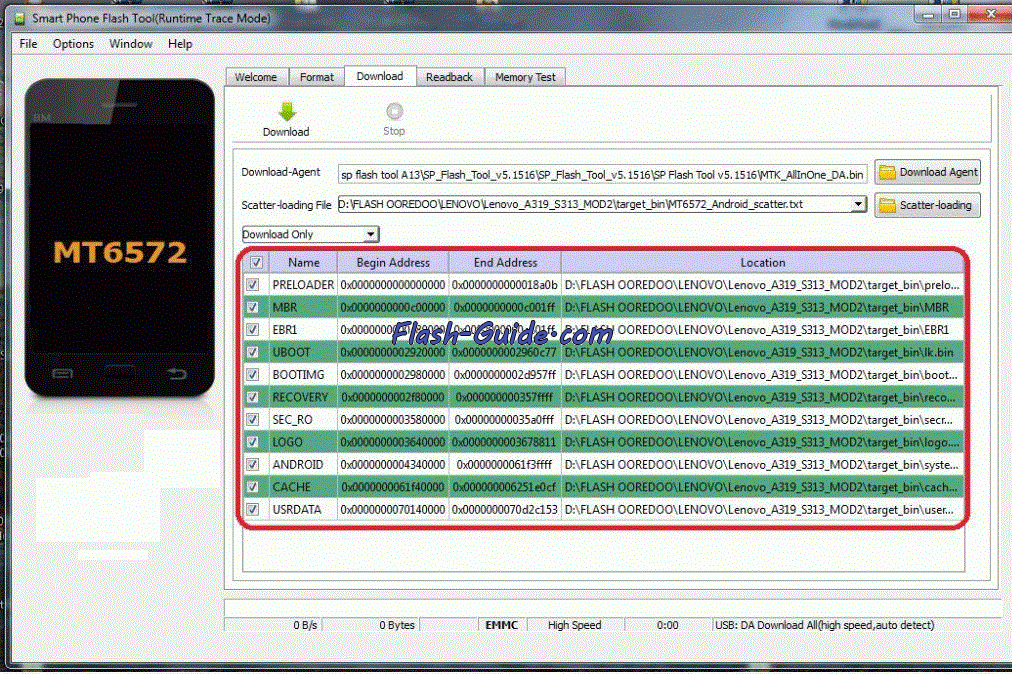 STEP 9: After completed all the above steps, connect your DX J7 Plus Mini to your system using the USB cable and , press any button other than power button so that your system will detect your DX J7 Plus Mini Device. You can use volume buttons.
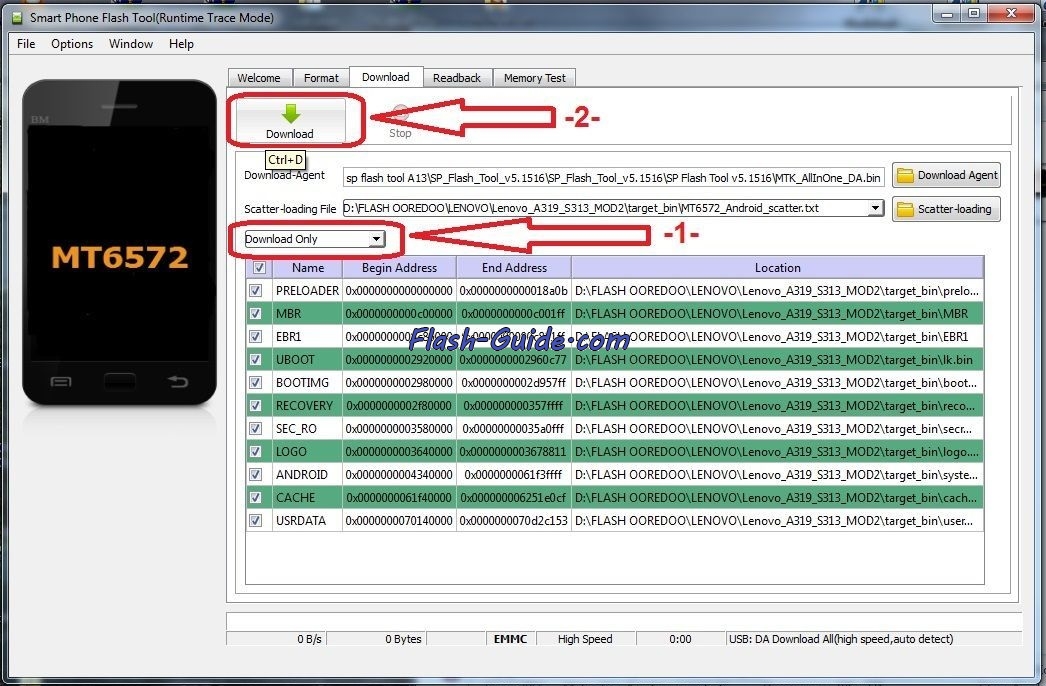
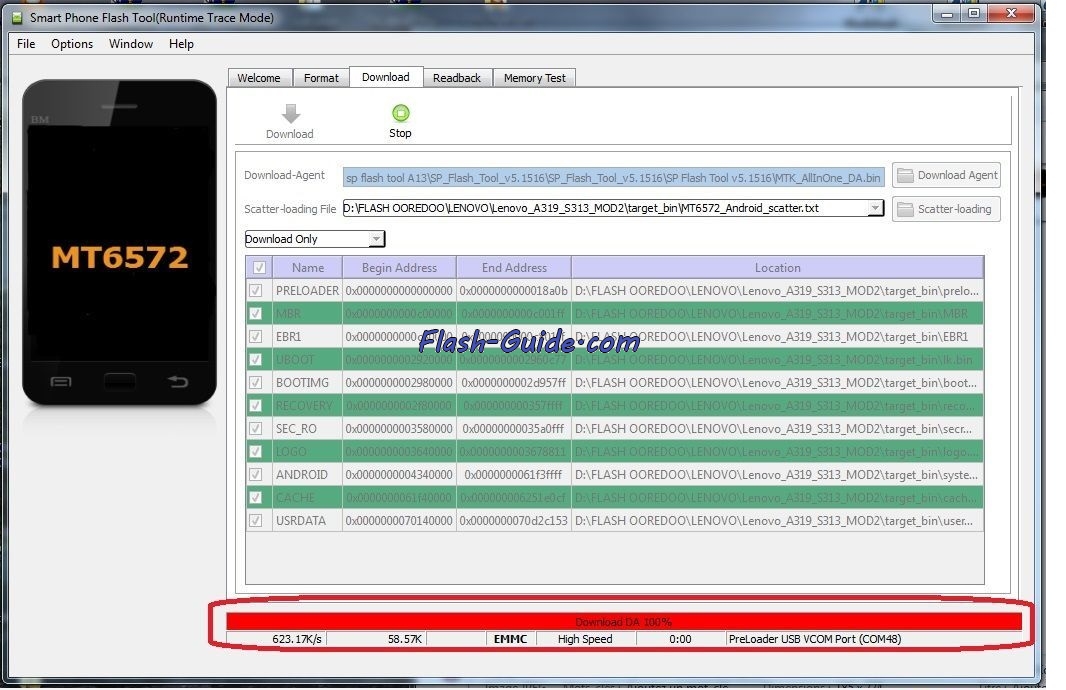 Step 10: Once the flashing process is completed, a green ring will appear on your system. Now disconnect your DX J7 Plus Mini and switch it ON.
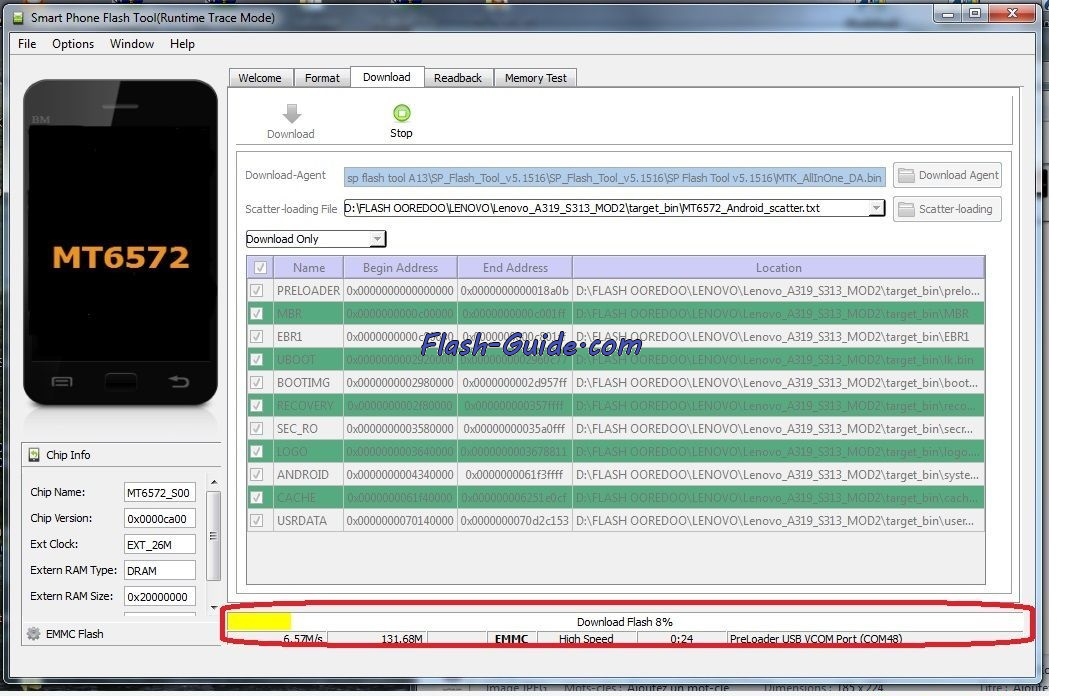
 Congratulations, Now you have successfully flashed the stock firmware on your DX J7 Plus Mini using SP Flash Tool.
Keep in mind:
[*] DX J7 Plus Mini Flash Tool: If you need to download the latest version of SP Flash Tool, then head over to SP Flash Tool For Windows or SP Flash Tool For linux .
[*] Backup Please: Take a backup of your important data before Flashing DX J7 Plus Mini Stock Firmware as because during the flashing process your personal data will be removed permanently .
[*] Broken link Report here.
[*] ROOT DX J7 Plus Mini:If you would like to know how to root your DX J7 Plus Mini android device, drop a comment below. We will share the tutorial for your device as quickly as possible .
